How to Build a Computer Vision Pipeline for Drone Inspection
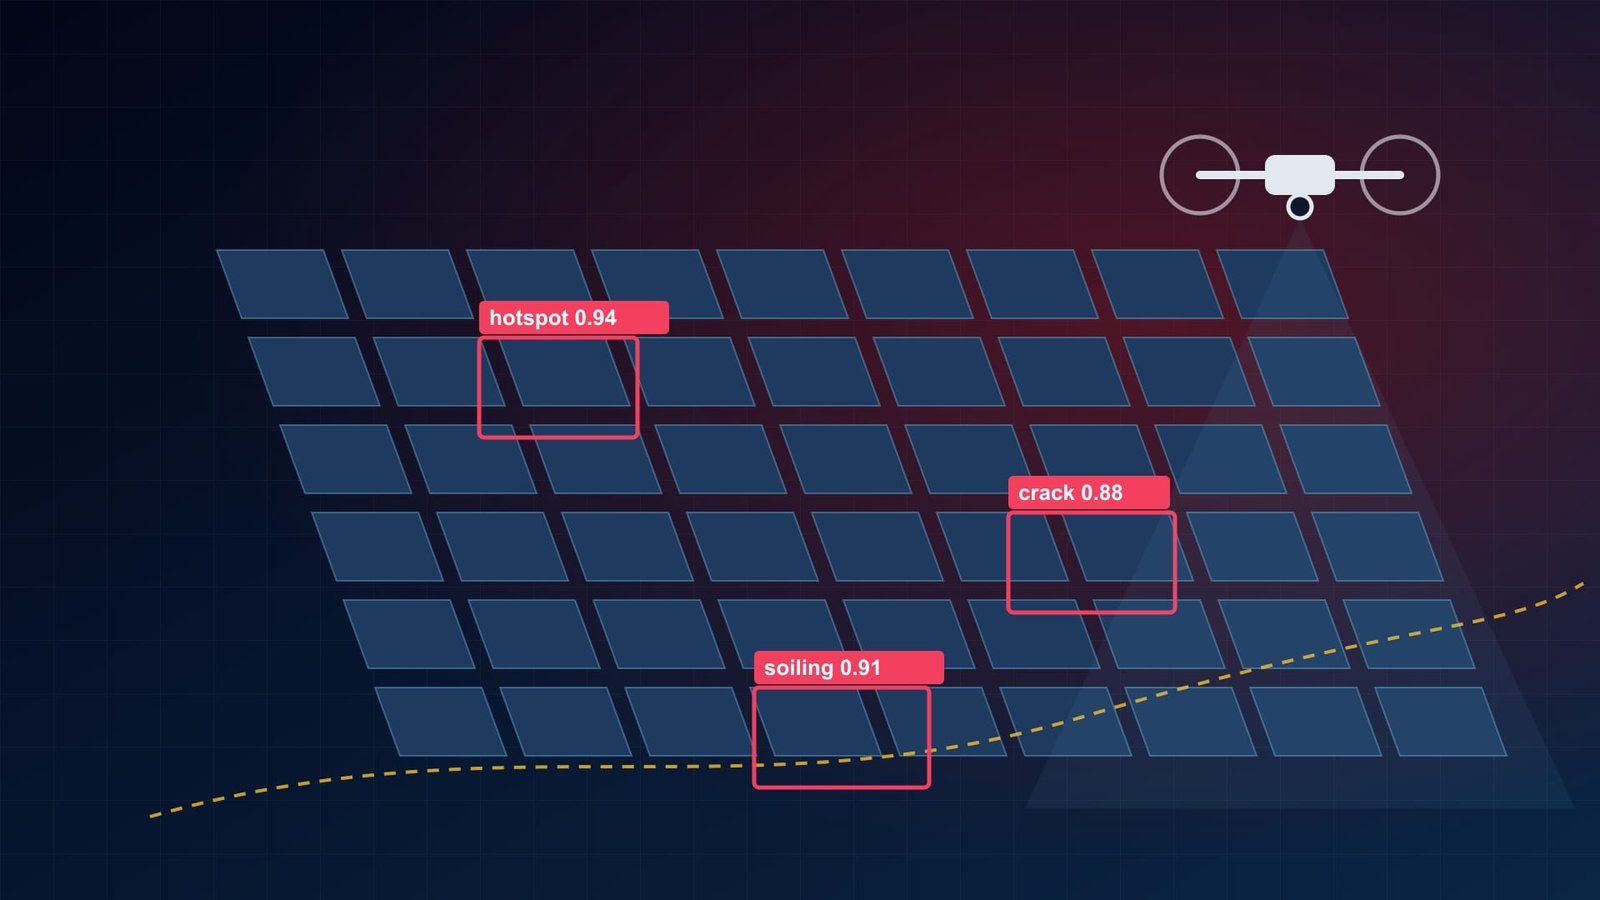
A production computer vision pipeline for drone inspection footage has seven stages: ingest and frame sampling, labeling with active learning, model training, evaluation per defect class, human-in-the-loop review, geotagging and reporting, and deployment in the cloud or at the edge. The model itself is usually the smallest part of the work. Most of the effort - and most of the failures - sit in the data, the review workflow and the way detections are tied back to a physical asset.
This guide walks through each stage in order, for teams that already fly drones and now want software to do the first pass through the footage.
TL;DR
Sample frames by distance and sharpness, not by time. Write a defect taxonomy before anyone labels anything. Use active learning so inspectors label the images the model is unsure about. Evaluate per defect class on sites the model has never seen. Keep a qualified inspector in the loop for sign-off. Start with cloud batch inference and move to the edge only when you need decisions during the flight.
What does a drone inspection computer vision pipeline consist of?
Think of it as a conveyor belt from raw footage to an inspection report that someone can act on. Each stage has a clear input and output:
| Stage | Input | Output |
|---|---|---|
| Ingest and frame sampling | Video, stills, flight logs | A de-duplicated set of sharp frames with position data |
| Labeling | Sampled frames, defect taxonomy | Boxes, polygons or masks per defect class |
| Training | Labeled dataset | A versioned model |
| Evaluation | Held-out sites | Per-class precision and recall, chosen thresholds |
| Human review | Model detections | Confirmed, rejected or reclassified findings |
| Geotagging and reporting | Confirmed findings, telemetry, asset register | Findings tied to an asset and component, exported to your systems |
| Deployment | Model, target hardware | Cloud batch jobs, edge inference, or both |
It is a loop: reviewer corrections become new training data, and every model version is evaluated on the same held-out sites before release.
How should you sample frames from drone video?
Not every frame. A 20-minute flight recorded at 30 frames per second is 36,000 frames, and consecutive frames are nearly identical. Labeling or even running inference on all of them wastes money and inflates your evaluation numbers, because the same defect appears dozens of times.
Sample by distance, not by time
Use the flight telemetry - GPS track, altitude and gimbal angle, usually in a flight log or an SRT file next to the video - to pick a frame each time the camera has moved far enough to show a new part of the asset. That gives even coverage whether the pilot hovered or moved fast. Missions flown as stills at a fixed overlap already have this, usually at higher resolution than video.
Throw away the frames nobody can use
- Blur: a simple sharpness score (variance of the Laplacian is the classic one) removes motion-blurred frames.
- Near-duplicates: perceptual hashing catches frames that look the same even when telemetry says the drone moved.
- Wrong view: gimbal pitch identifies take-off and landing frames pointing at the sky or ground.
Keep the original footage and sampling parameters, so you can re-run sampling later instead of re-flying the site.
How do you label inspection imagery without burning your budget?
Labeling is usually the biggest single cost in the project, and the easiest one to waste. Three decisions keep it under control.
Write the defect taxonomy first
Before anyone draws a box, agree with your inspectors on a written list of defect classes, how severity is graded and what does not count, with example images for each class and for confusing pairs such as staining versus corrosion. Inconsistent labels put a ceiling on accuracy that no model can break through.
Pick the cheapest annotation type that answers the question
Bounding boxes are fast and enough for "is there a defect and roughly where". Polygons or masks cost more but are needed when you measure the defect - the area of corrosion, the length of a crack. Image-level tags ("this panel has a hotspot") are cheapest of all and sometimes enough for triage. Many pipelines mix them: boxes for most classes, masks only for the classes you need to measure.
Use active learning so inspectors label what matters
Label a small seed set, train a first model and run it over the unlabeled pool. Then send people the images the model is least sure about and those covering rare classes, not a random sample. Repeat. Trained annotators handle clear-cut labels; qualified inspectors handle the ambiguous ones. Measure agreement between labelers on a shared subset - if two inspectors disagree on a class half the time, fix the taxonomy before labeling more.
Which model architecture should you use for defect detection?
Pick the task first, then the architecture:
- Object detection (for example YOLO-family models or transformer-based detectors such as RT-DETR) when you need to find and locate defects.
- Instance or semantic segmentation when you need the outline or the area of the defect.
- Image classification on tiles when the question is simply "does this section need a human look".
Tile high-resolution images
Inspection defects are often tiny relative to the frame - a hairline crack on a 4000 x 3000 photo. Shrinking the whole image to the model's input size erases them. Split each image into overlapping tiles, run the model on the tiles and merge the detections back. It costs more compute but is usually the single biggest accuracy gain for small defects.
Use foundation models to label, not (yet) to ship
Large pretrained vision models, such as promptable segmentation and open-vocabulary detectors, are very useful for pre-labeling: they draw a first mask or box that a human corrects in seconds. As the production model they are usually too slow, too costly per image and too generic for your defect classes. A smaller model fine-tuned on your data tends to win on accuracy and cost.
Check the licence before you commit
Some popular detection frameworks are released under copyleft licences such as AGPL-3.0, with a separate commercial licence for closed-source use. Check this at architecture time, not the week before launch.
How do you evaluate a defect detection model properly?
Evaluate per defect class, on sites the model has never seen, at the threshold you will actually use. Each part of that sentence prevents a common mistake.
Split by site, not by frame
Split frames randomly and near-identical neighbours land on both sides, so the test score looks far better than reality. Hold out whole sites, flights or assets, covering the seasons and lighting your customers fly in.
Report every class separately
A single mAP number hides the class that matters. A model can look strong overall while missing most cases of a rare, critical defect. Report precision and recall for every class, and look at the confusion between classes - mixing up two minor classes is very different from calling a structural crack "dirt".
Set thresholds by the cost of a miss
Decide with the inspection team what a missed defect costs compared with a false alarm, class by class, and set the confidence threshold accordingly:
| Defect type | Cost of a miss | Cost of a false alarm | Typical operating point |
|---|---|---|---|
| Structural (cracks, deformation) | High | A few seconds of reviewer time | High recall, accept more false alarms |
| Maintenance (corrosion, loose fittings) | Medium | Reviewer time | Balanced |
| Cosmetic (staining, debris) | Low | Clutters the report | High precision, fewer flags |
Finally, measure at the level the customer cares about. "Did we flag the blade that has the crack?" is a better business metric than how well the box lines up with the label.
Where should humans stay in the loop?
At review and at sign-off. A practical review tool shows each detection with its crop, its location on the asset, the class and the confidence, and lets the reviewer confirm, reject or reclassify with one keystroke. Sort the queue by severity and uncertainty so critical, borderline cases come first.
- Every correction becomes training data - almost free once the tool exists.
- Keep an audit trail of which model version produced a detection and who confirmed it.
- Never auto-close critical classes. Auto-dismissing low-confidence cosmetic flags can be fine once measured; structural findings always go to a person.
- A qualified inspector signs the report. The software makes them faster and more consistent; it does not replace their judgement.
How do you geotag detections and turn them into a usable report?
A detection that says "crack, frame 18,412" is useless to a maintenance crew. It needs to say "crack, tower 47, north-east leg, second cross-brace".
- Attach position to every frame. For stills, read GPS, altitude and gimbal angles from the image metadata; for video, sync the flight log by timestamp. RTK gives far better accuracy than standard GPS when assets are close together.
- Map position to an asset. Match camera position and view direction against your asset register - tower, turbine, blade or panel-string IDs.
- De-duplicate across frames. Cluster same-class detections that project to the same spot, keep the clearest crop and link the rest as evidence.
- Export to where the work happens. GeoJSON for GIS, CSV or an API for the maintenance system, a PDF for the customer - and findings projected onto orthomosaics or 3D models if you build them.
Should inference run in the cloud or on the edge?
For most teams, start with cloud batch processing after the flight. Move to the edge only when there is a clear reason.
| Cloud (post-flight batch) | Edge (drone or ground station) | |
|---|---|---|
| Best for | Detailed inspection reports | Live alerts, re-flying a spot while on site |
| Model size | Large, accurate models and tiling | Compressed models, tight memory and power budget |
| Connectivity | Upload footage after the flight | Works offline at remote sites |
| Updates | Deploy a new version in minutes | Needs over-the-air delivery and hardware testing |
| Data residency | Footage leaves the site | Footage can stay on site |
A hybrid often works best: a small edge model flags "suspicious, capture more" and the full model runs in the cloud afterwards. Edge work adds quantisation, testing on the exact chip you fly and a way to roll out updates - see edge AI and embedded ML.
How much does a drone inspection CV pipeline cost, and how long does it take?
It depends on five things you can estimate before talking to any vendor:
- Defect classes and asset types. Each class needs labels and evaluation; each asset type usually needs new data.
- Labeling volume and who does it. Inspector time costs far more than annotator time - hence active learning.
- Image resolution and tiling. Higher resolution finds smaller defects but multiplies compute.
- Edge targets. Every hardware platform adds porting and testing.
- Integrations. Asset registers, maintenance systems, portals and report templates.
On timeline, plan in phases you can stop between. A typical shape:
- Weeks 1-3, discovery and data audit: sample flights, defect taxonomy, capture-protocol review and a labeled evaluation set agreed with your inspectors.
- Weeks 4-8, first pipeline: ingestion, frame sampling, a baseline model for the first one to three defect classes and the reviewer interface, so inspectors start confirming real detections early.
- Weeks 9-14, production: active-learning rounds, geotagging and asset-register integration, report generation and production batch inference.
Edge deployment and additional defect classes follow as separate phases, each gated on the evaluation set.
Each phase is quoted at a fixed price once discovery has sized the defect taxonomy and the labeling effort; labeling services and cloud GPU compute are billed at cost. Details are on our computer vision and drone inspection service page.
What should you have ready before you start?
Sample footage or stills from several sites (including bad weather and light) with their flight logs, a draft list of defect classes from your inspectors, a consistent way of naming assets, and one or two inspectors who can give a few hours a week to labeling and review.
How TekPiq approaches drone inspection projects
We are an in-house engineering team in East Sarajevo, Bosnia and Herzegovina, founded in 2019. We build the whole pipeline - sampling, labeling tooling, models, review interface, geotagging and integrations - under NDA, with all code and models assigned to you. See how we approached one of these projects in our drone inspection computer vision case study.
Sitting on hours of inspection footage?
Send us a sample and your defect list. We will tell you honestly what a model can and cannot find in it.
Book a scoping call →Frequently asked questions about drone inspection computer vision
How many labeled images do you need to train a drone inspection model?
There is no fixed number - it depends on how many defect classes you have, how distinct they look and how varied your sites are. What matters most is enough examples of each class from several sites and conditions. Start with a seed set per common class, measure per-class recall, and let active learning show where more labels actually help.
Should drone inspection inference run on the drone or in the cloud?
Start in the cloud unless you need a decision during the flight. Post-flight batch processing in the cloud lets you run larger, more accurate models and update them easily. Edge inference on the drone or a ground station is worth it when sites have poor connectivity, when operators need live alerts, or when data cannot leave the site - and it costs extra engineering for model compression and hardware testing.
Can a computer vision model replace a human inspector?
Not for anything safety-critical. A good model screens thousands of images and puts the likely defects in front of a qualified inspector, who confirms, rejects or reclassifies them. The inspector still signs off on the report. The model's job is to make the human faster and more consistent, not to remove them.
Which metric should you use to evaluate a defect detection model?
Per-class precision and recall at a chosen confidence threshold, measured on sites the model has never seen. A single overall mAP score hides the classes that matter: a model can score well overall while missing most of a rare but critical defect. Set the threshold per class based on what a miss costs compared with a false alarm.
How long does it take to build a drone inspection computer vision pipeline?
A typical first pipeline takes around 14 weeks in three phases: 2 to 3 weeks of discovery and data audit, a first pipeline with a baseline model and reviewer interface by around week 8, and production work such as active learning, geotagging and reporting by around week 14. Edge deployment and extra defect classes follow as separate phases.
Last updated November 19, 2026. More on this topic: computer vision for drone inspection and our drone inspection case study.
Did this help?
Nikola Crnogorac, Founder, TekPiq
Ready to build your next project?
Let's discuss how TekPiq can help you ship software that actually moves the needle.